현 프로젝트 준비단계
11. 매장 상세보기 ui 제작 중 / 마커 클릭시 정보 불러오기 완료
깡 딱
2025. 2. 8. 00:10
728x90
소요시간
2025년 2월 7일 - 6시간
느낀 점
오늘은 막힘없이 아주 잘된 거 같다.
ui제작이라 별로 어려운 부분은 없었으나 시간을 많이 써야 된다는 부분이 조금 마음 아팠다.
내일부터 이틀간 휴식기간을 가져야겠다. 거의 20일간 움직이지 않고 개발만 해서
브레인스토밍도 잘 안되고 집에만 있으니까 우울해지는 거 같다 ㅋ
마커클릭 시 정보창
이제 디비에 저장되어 있는 값을 불러와야 돼서
마커를 클릭시 전달해야 될 변수들을 만들어주고
디자인을 해주고
void here(BuildContext context, String address, String roadAddress, String type, String title)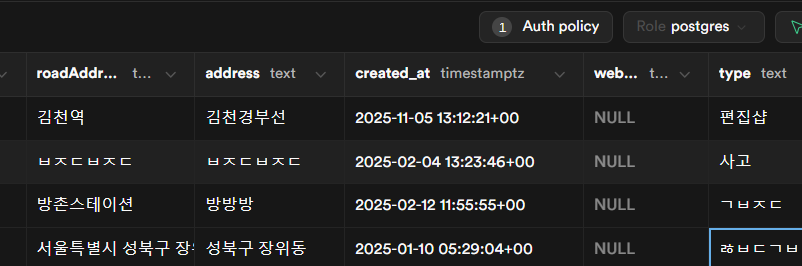
이제 마커 정보창을 눌렀을때 다음 화면에도 다 전달 되게 만들었습니다.
Navigator.push(
  context,
  MaterialPageRoute(
    builder: (context) => StoreInfoScreen(
      title: title,
      address: address,
      roadAddress: roadAddress,
      type: type,
    ),
  ),
);
매장 화면에서 전달 받아서 데이터를 띄어 주게 만들었다.
class StoreInfoScreen extends StatefulWidget {
  final String title;
  final String address;
  final String roadAddress;
  final String type;

  const StoreInfoScreen({
    Key? key,
    required this.title,
    required this.address,
    required this.roadAddress,
    required this.type,
  }) : super(key: key);

  @override
  _StoreInfoScreenState createState() => _StoreInfoScreenState();
}
버튼 클릭시 인덱스 설정
int _selectedIndex = 0; // 선택된 버튼의 인덱스


void _onButtonPressed(int index) {
  setState(() {
    _selectedIndex = index; // 버튼 클릭 시 인덱스 업데이트
  });
}
버튼을 클릭했을때 현재 누르고 있는 화면이 무엇인지 설정하였습니다.
이 코드는 버튼을 누르고 있을 때 ui가 바뀌게 만들었고
GestureDetector(
  onTap: () => _onButtonPressed(0),
  child: Container(
    width: 56.w,
    height: 36.h,
    decoration: ShapeDecoration(
      color: _selectedIndex == 0
          ? Colors.white
          : Color(0xFF1A1A1A),
      shape: RoundedRectangleBorder(
        side: BorderSide(
            width: 1.w, color: Color(0xFF3D3D3D)),
        borderRadius: BorderRadius.circular(100),
      ),
    ),
    padding: EdgeInsets.only(
        left: 16.w, right: 16.w, top: 8.h, bottom: 8),
    child: Text(
      '매장',
      textAlign: TextAlign.center,
      style: TextStyle(
        fontSize: 14,
        fontFamily: 'Pretendard',
        fontWeight: FontWeight.w700,
        height: 1.40.h,
        letterSpacing: -0.35,
        color: _selectedIndex == 0
            ? Color(0xFF1A1A1A)
            : Colors.white,
      ),
    ),
  ),
),
버튼마다 눌렀을때 다른 화면정보가 뜨게 만들었다.
SizedBox(
  child: (() {
    if (_selectedIndex == 0) {
      return DataScreen4();
    } else if (_selectedIndex == 1) {
      return DataScreen5();
    } else {
      return DataScreen6(); // 세 번째 화면
    }
  })(),
),
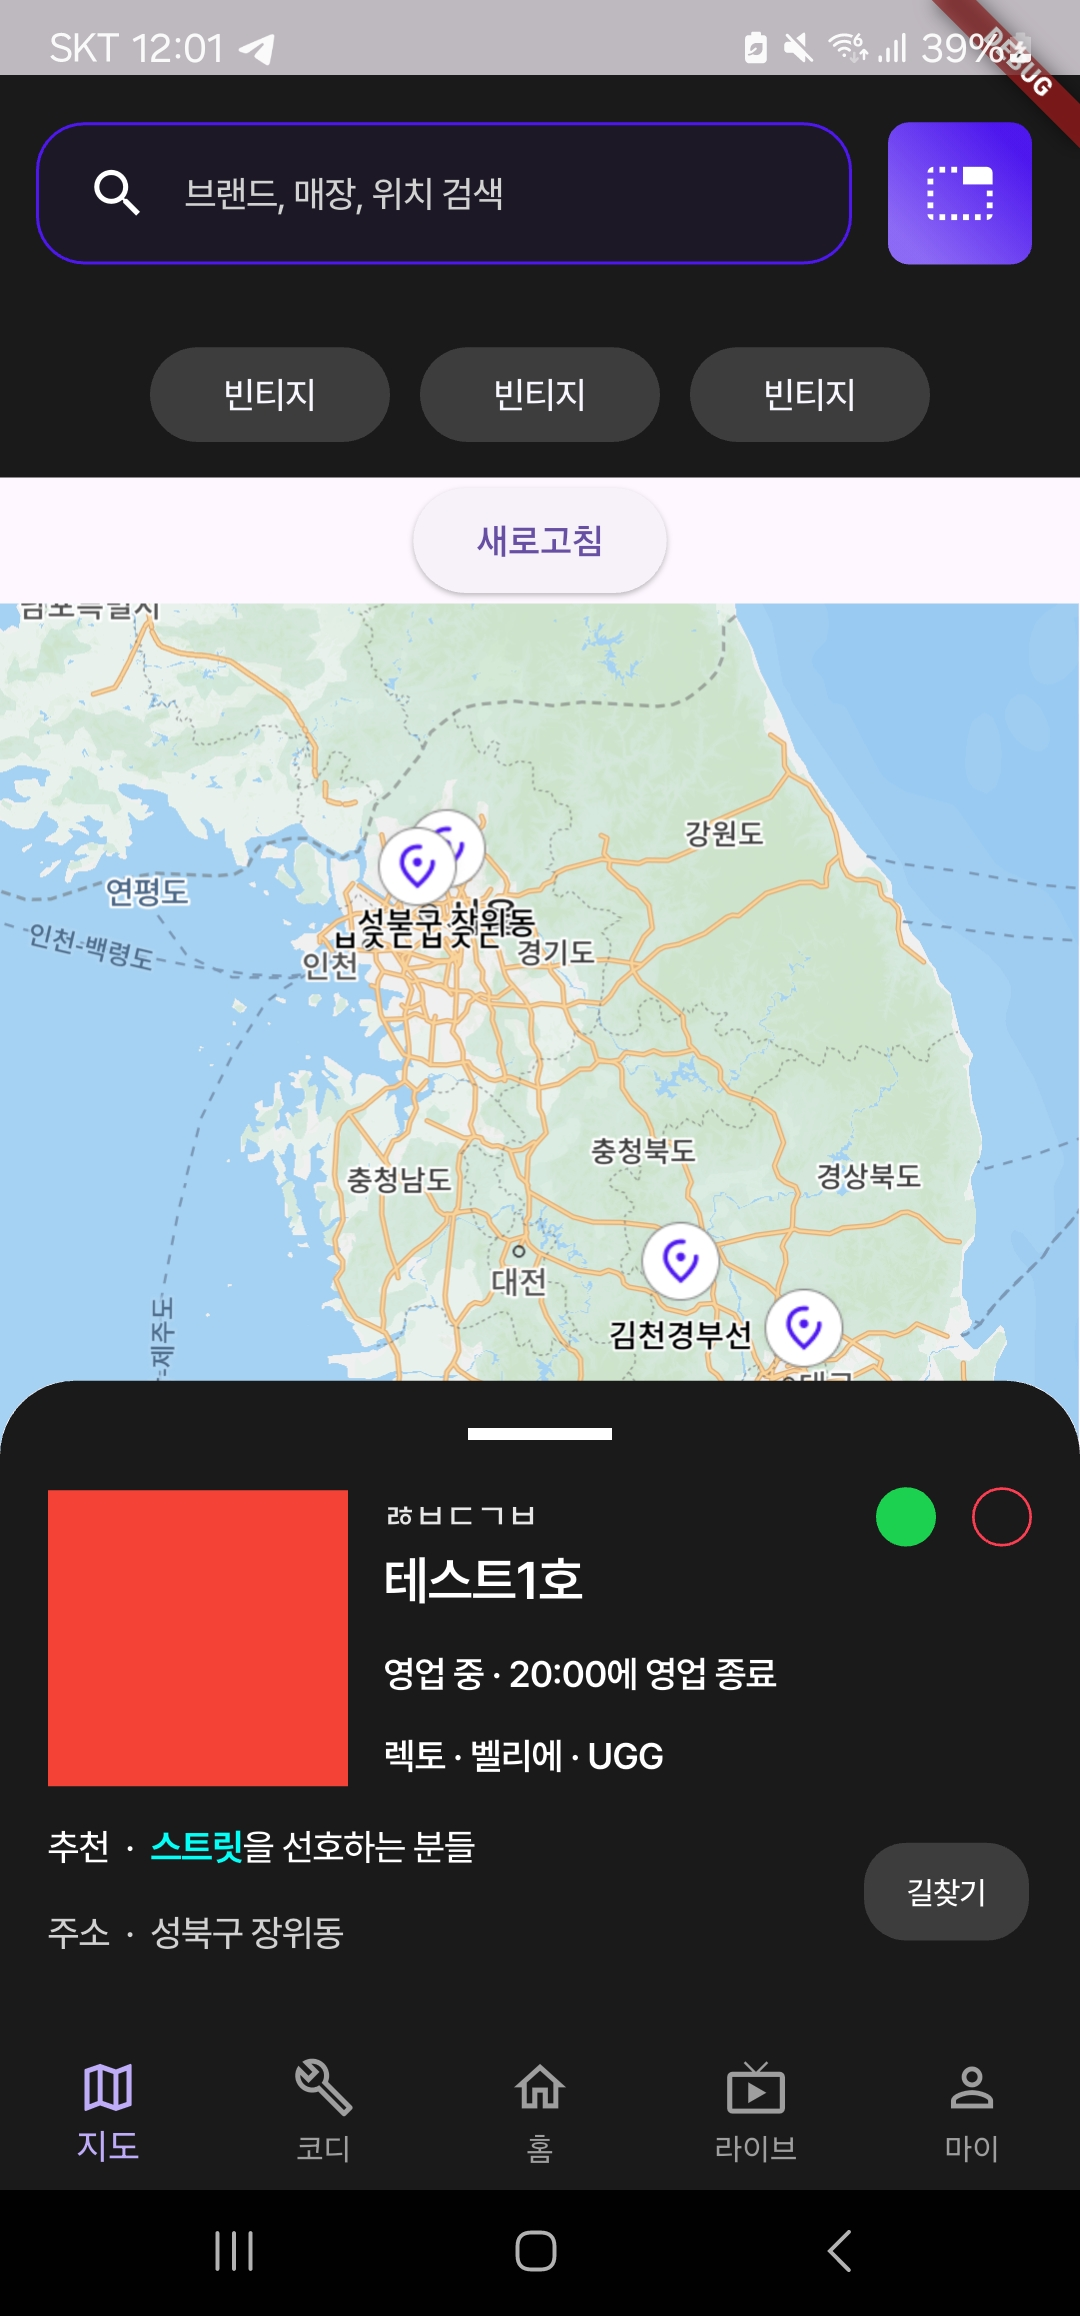
결과
아까 설명했듯이
누르면 supabase에서 불러오고
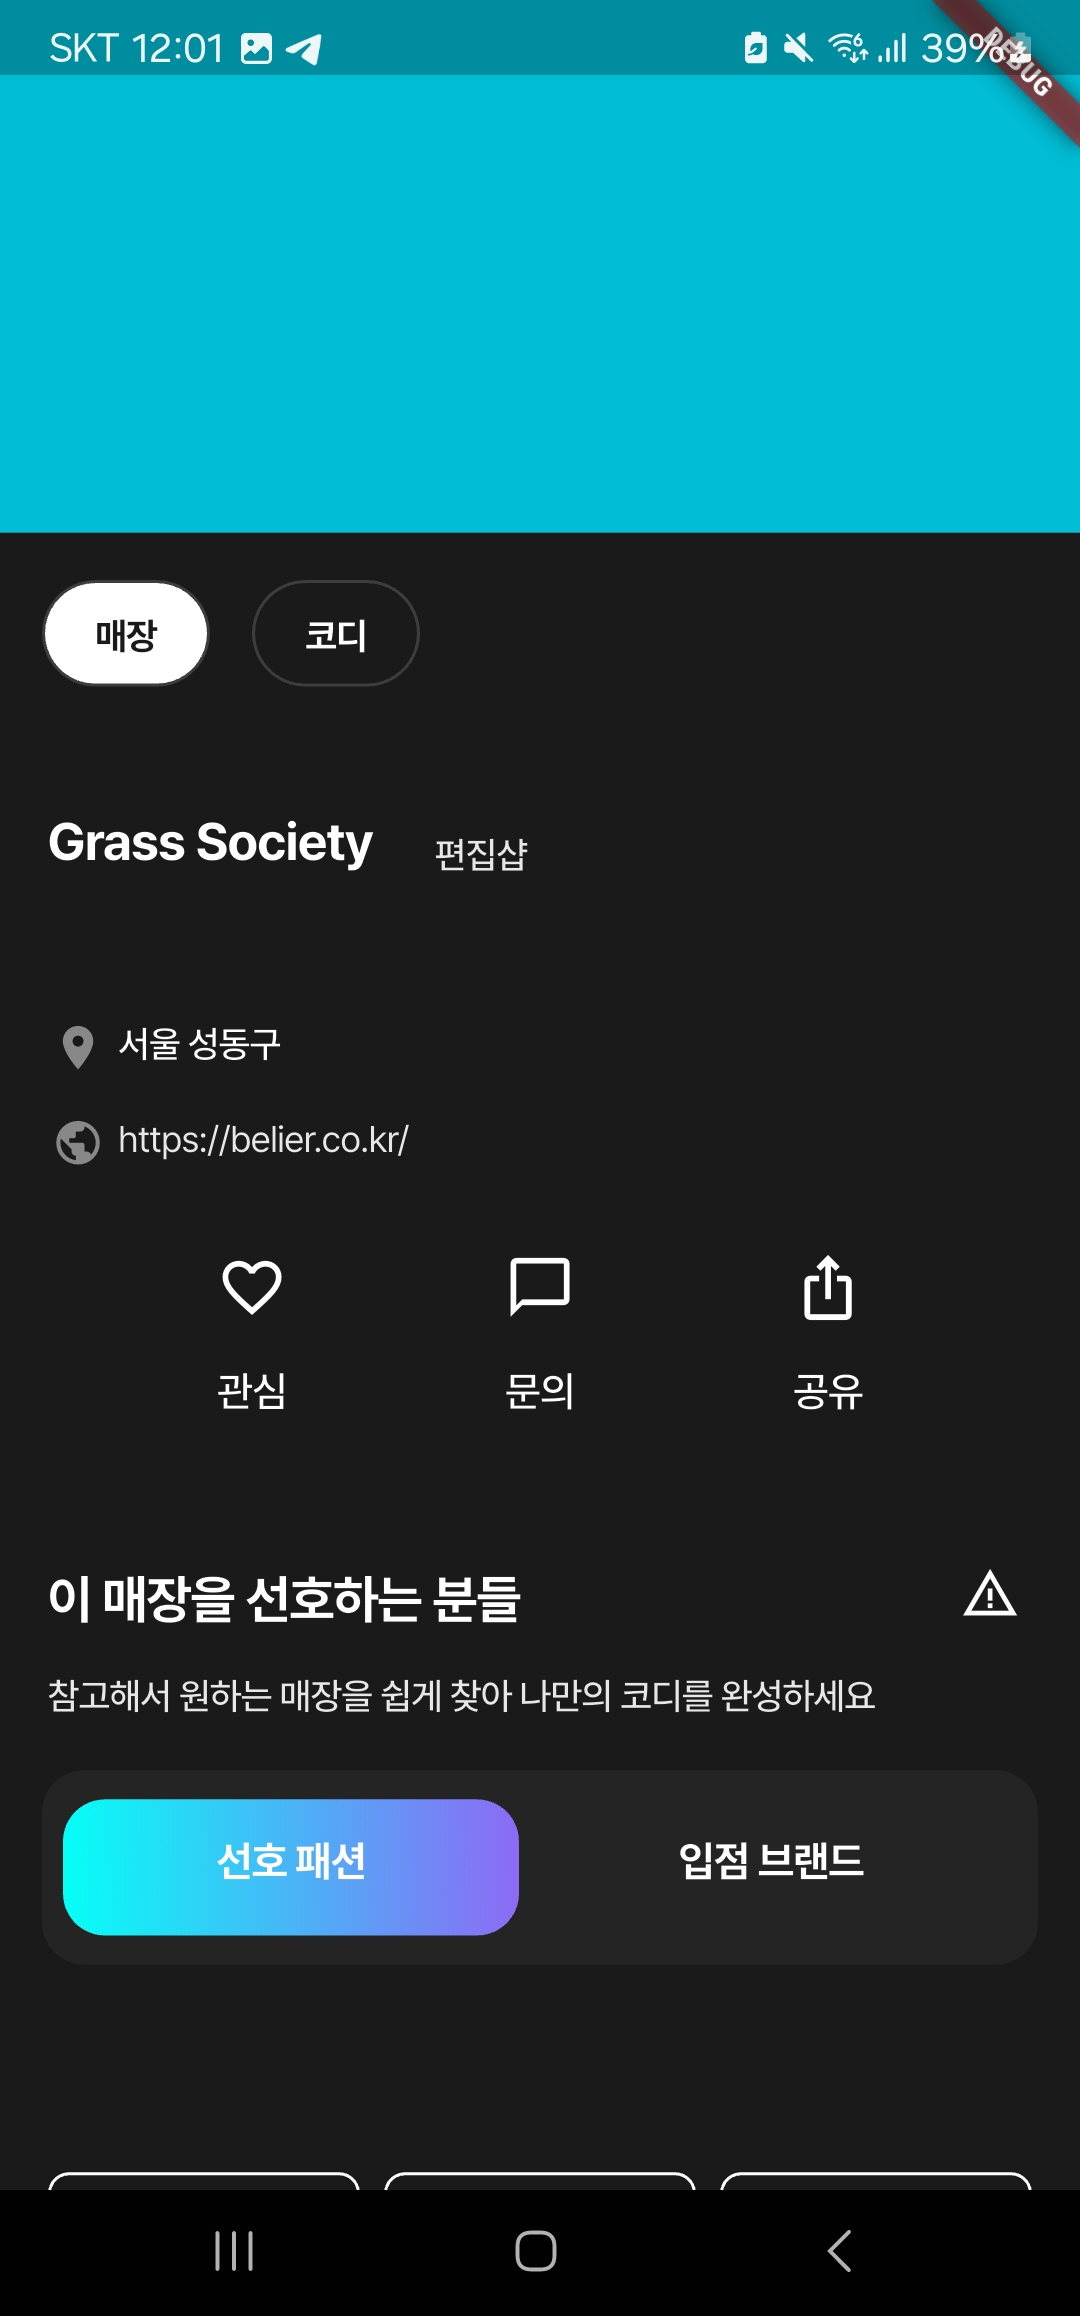
저 바텀시트를 클릭했을때
매장 상세정보가 뜨게 만들었습니다
위의 코드대로 매장, 코디를 눌렀을 때 각각 서로 다른 화면이 나오게 만들었습니다.
728x90